How to Add a Tag on Qwairy?
Tags help you organize queries by themes, priorities, or topics across your workspace. You can add them in two ways:Option 1: From Workspace Settings
- Go to Workspace Settings in the sidebar (bottom-left section).
- Click on the “Tags” tab at the top.
- Click the “+ Add Tag” button on the right.
- Enter your tag name (e.g. “priorité”, “urgent”, “marketing”) and confirm.
📊 You’ll then see how many queries, responses, sources, and competitors are linked to each tag.

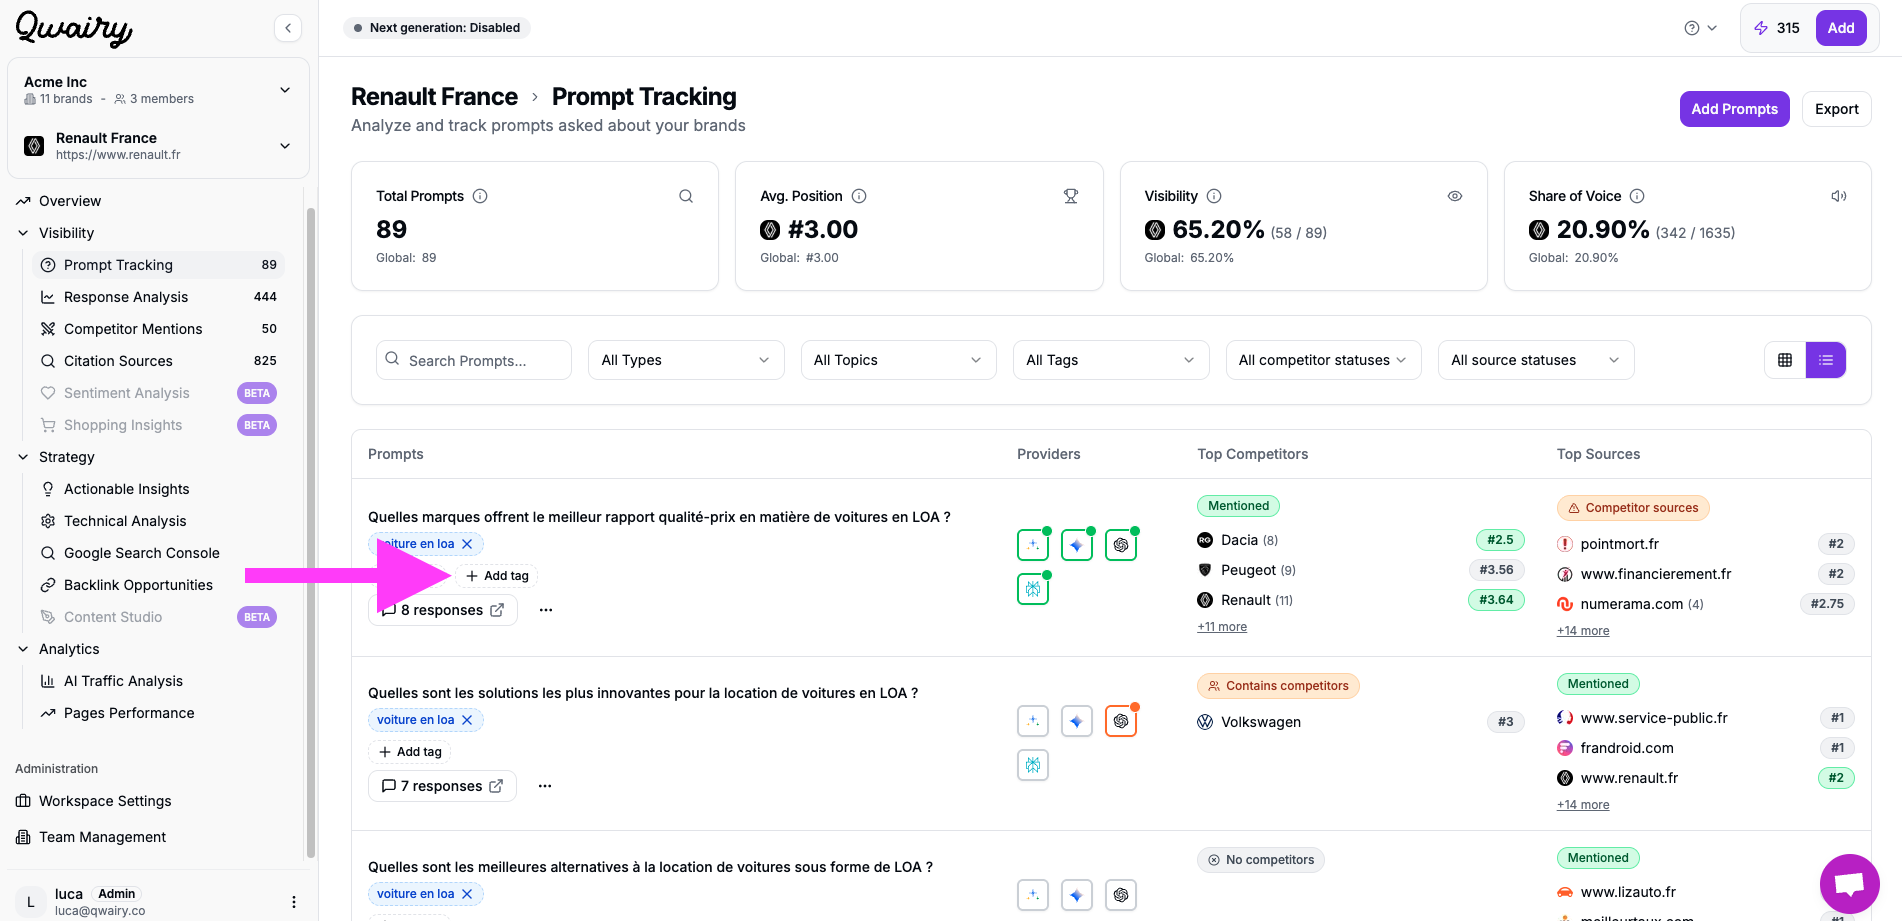
Option 2: Directly from a Query
- Go to any query (e.g. in Prompt Tracking or Keywords & Tags).
- Find the “+ Add Tag” button below the query or topic title.
- Click it, type your tag, and press Enter to assign it.
Tags added here are automatically synced across the workspace and visible in Workspace Settings.
Pro Tips:
- You can reuse tags across multiple queries for better filtering.
- Click the tag name to explore all associated content (queries, answers, etc.).
- Tags are workspace-wide and can be managed centrally under Workspace Settings.
What are Topics on Qwairy?
Topics: Your Brand’s Semantic Universe
When you onboard your brand, Qwairy automatically creates a set of topics that represent the key themes, products, or verticals your brand is associated with. For example, if you’re Decathlon, Qwairy might generate topics like:- Sportswear
- Hiking Gear
- Fitness Equipment
- Budget vs. Premium Brands
🧠 Tip: You can add topics manually to better match your business strategy.
How to add a topic on Qwairy?
Method 1: From Prompt Tracking

- Navigate to Prompt Tracking from the sidebar.
- Click “Add Prompt” (top-right).
- Choose AI Generation, Manual Entry, or CSV Import.
- In the “Topic” dropdown:
- Start typing to search.
- If the topic doesn’t exist, type the name and press
Enterto create it instantly.
- Save the prompt — the new topic is automatically added to your workspace.
🎯 Best for when you’re working directly with prompts and want to organize them as you go.
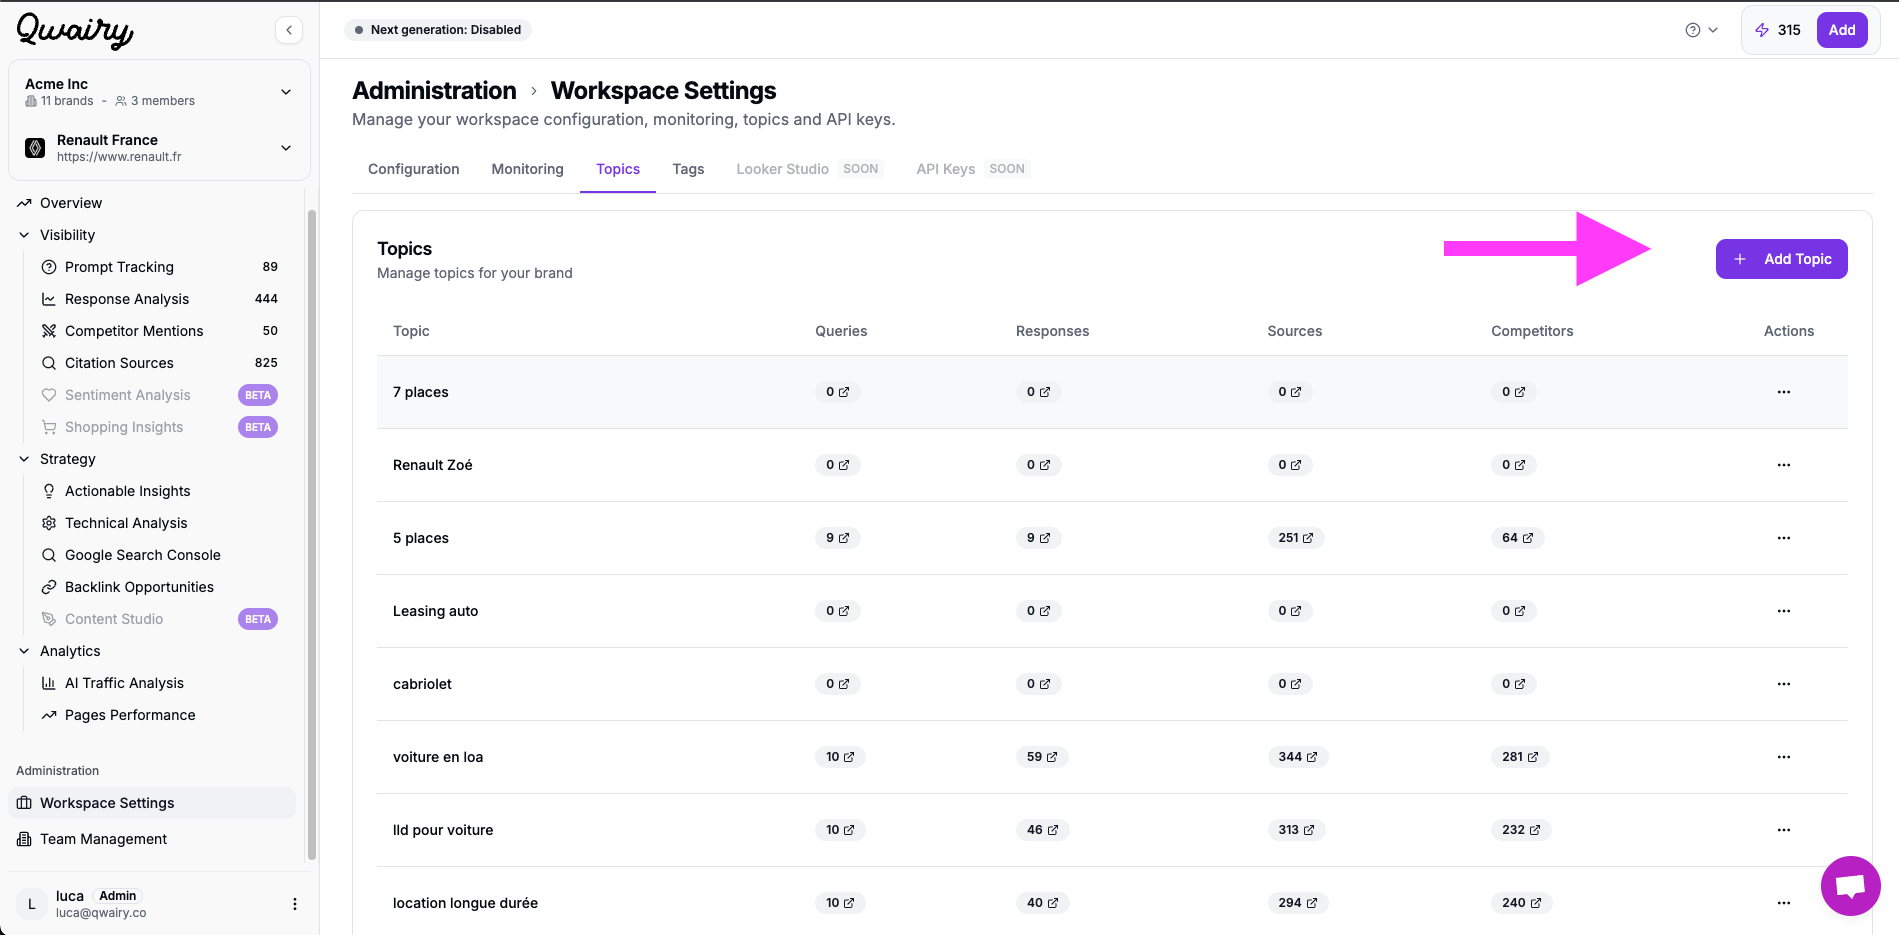
Method 2: From Workspace Settings
- Go to Workspace Settings (bottom left).
- Click on the “Topics” tab.
- Click “Add Topic” (top-right).
- Enter the topic name and confirm.